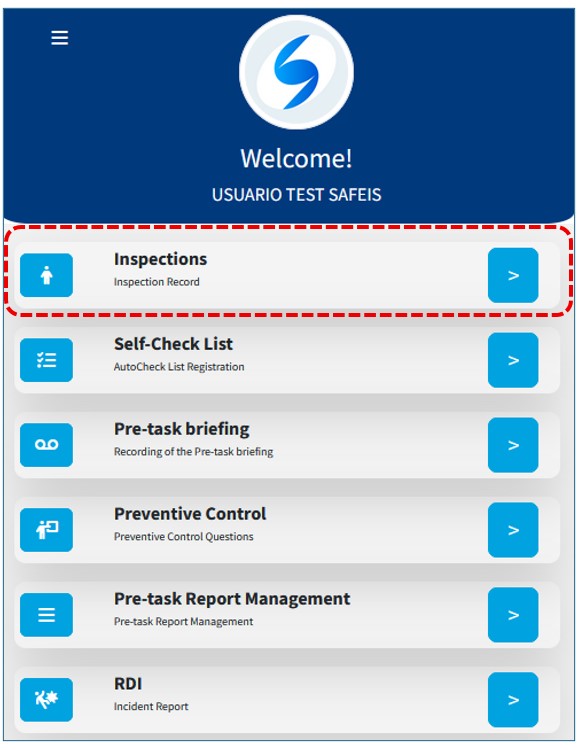
Inspections
Let’s start recording an inspection by following the steps below.
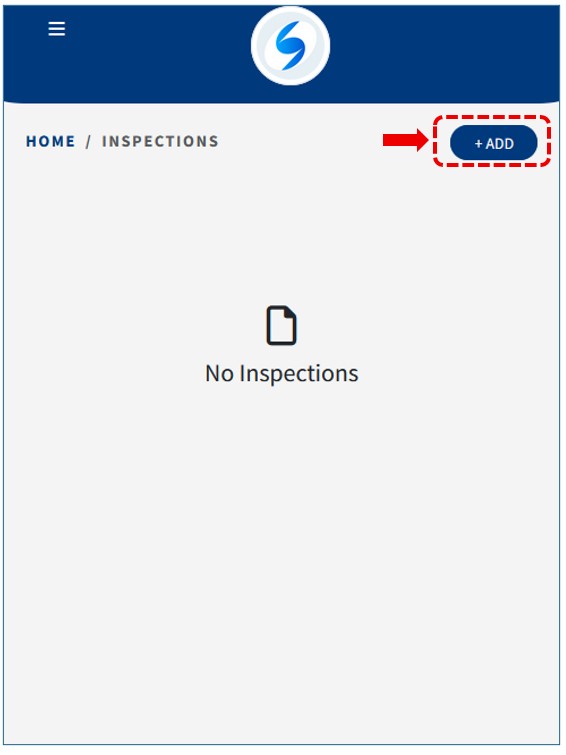
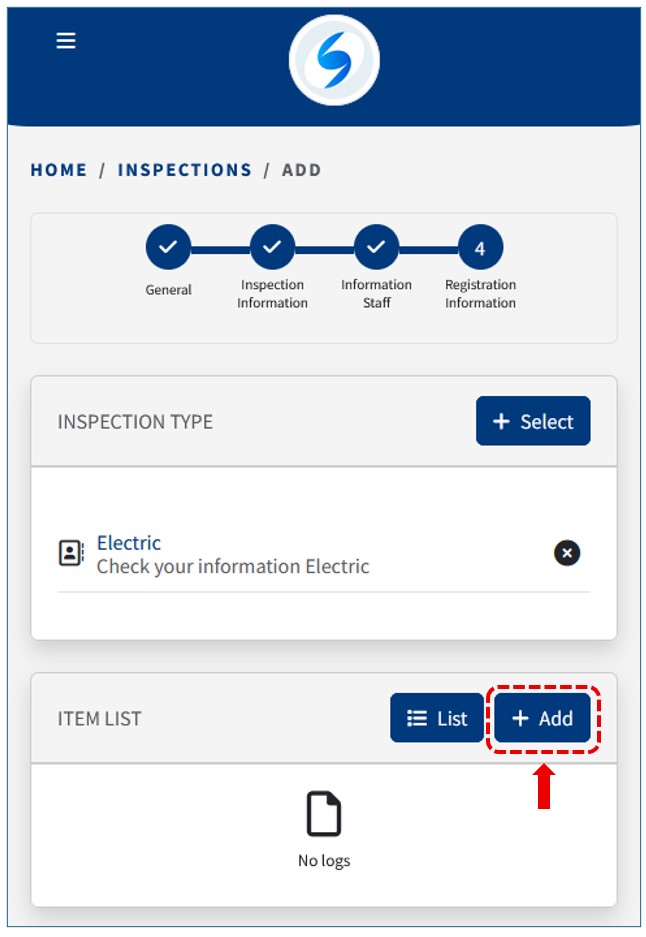
1) Press the Add button after entering the Inspections section:
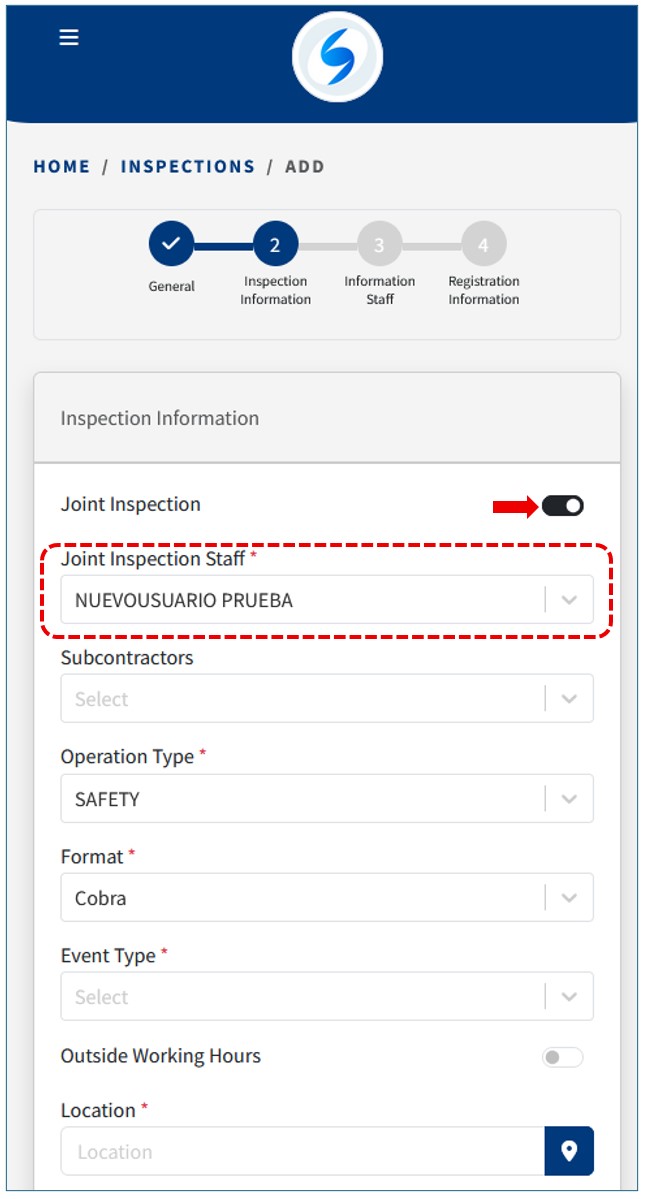
2) Then, enter the data you are going to record. Some fields may already be filled in if they were previously configured in your profile. The mandatory fields are marked with a red asterisk beside them:
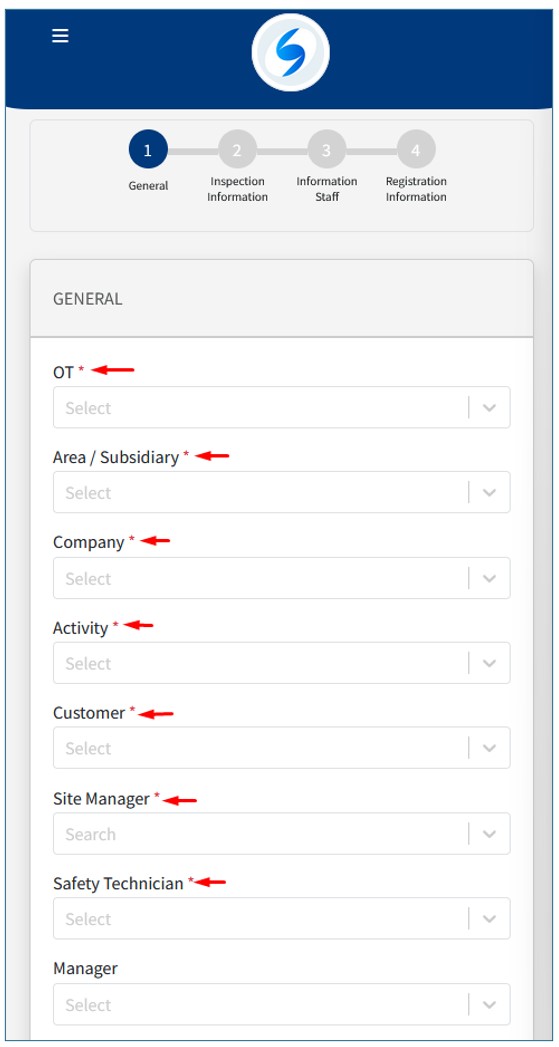
The mandatory inspection details are recorded, such as whether it is a joint inspection or not:
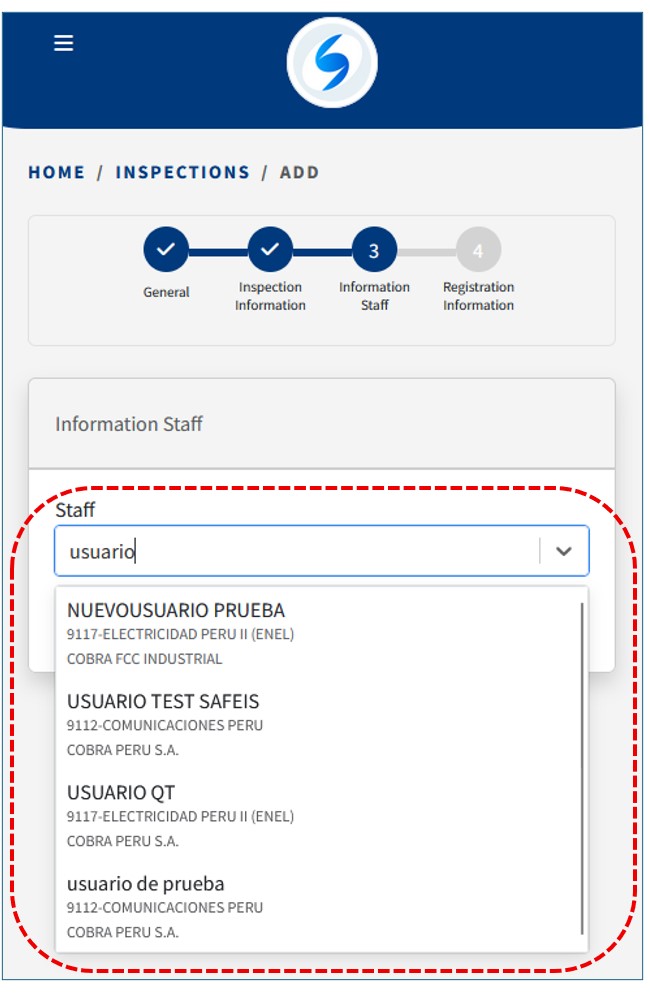
3)When entering the personnel we are inspecting, the first one added will appear as the Person Responsible for the InspectionAs you continue adding personnel, you can modify that designation:

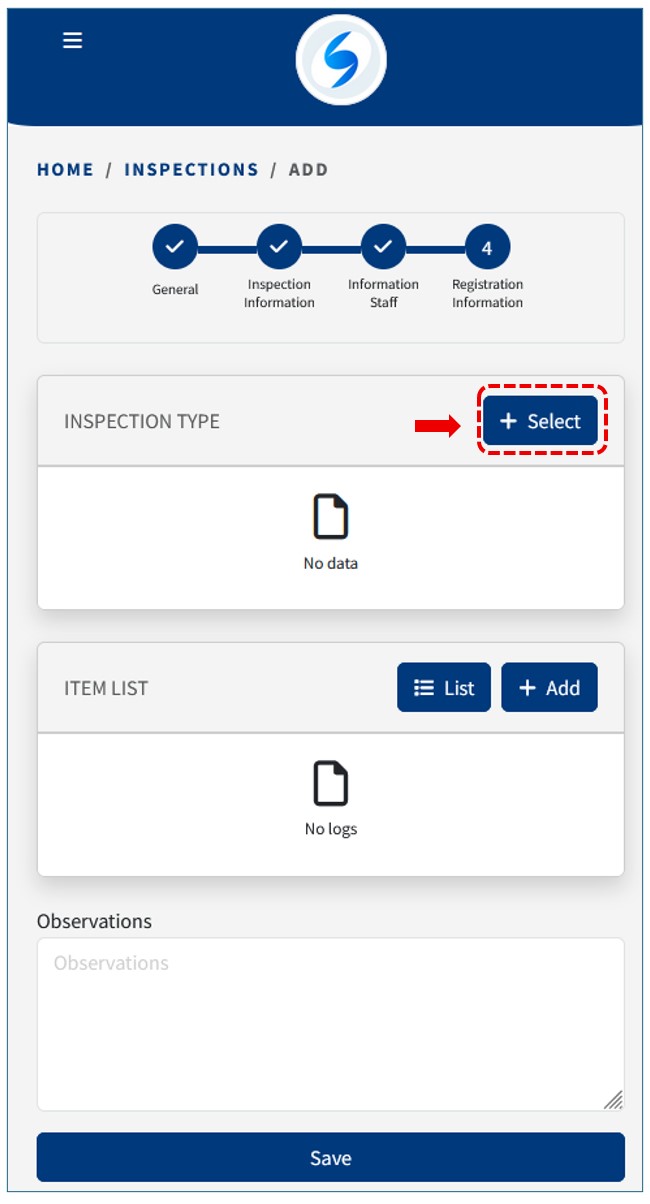
4)Finally, we will enter the details of the Inspection. To do this, first select the Type of Inspection.:
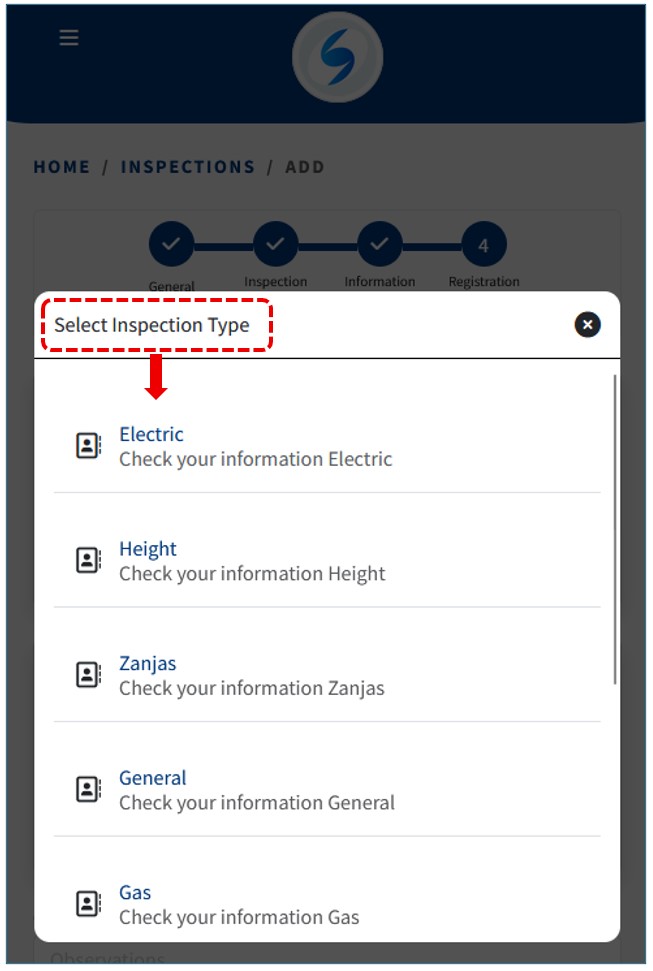
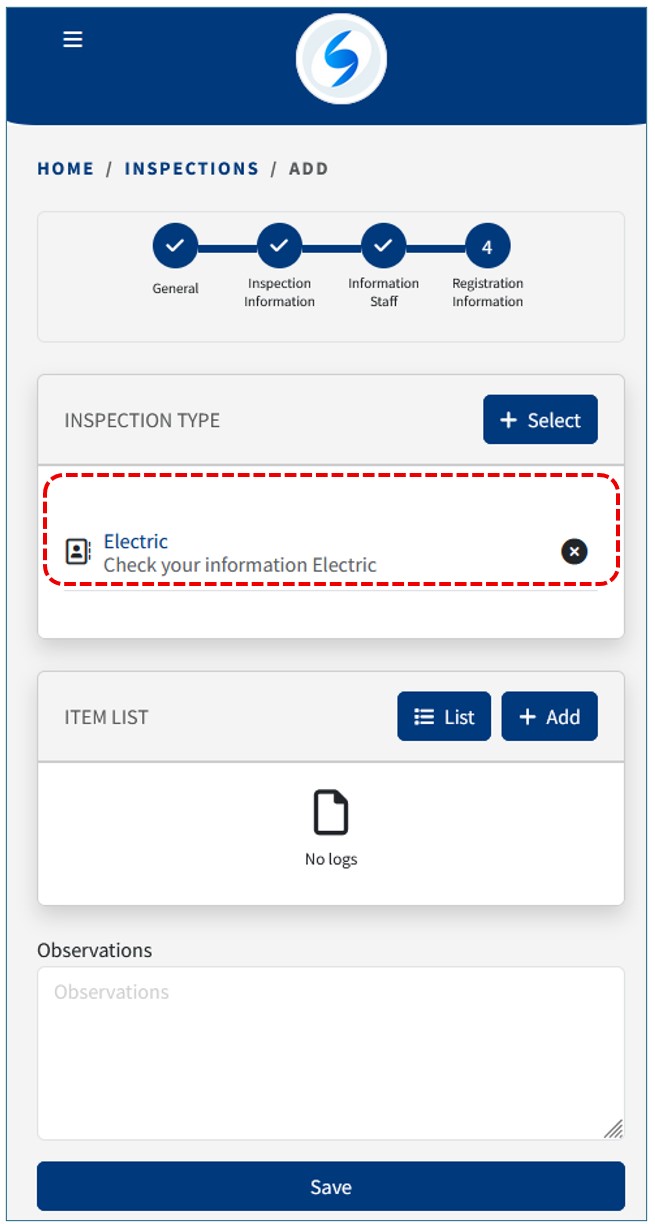
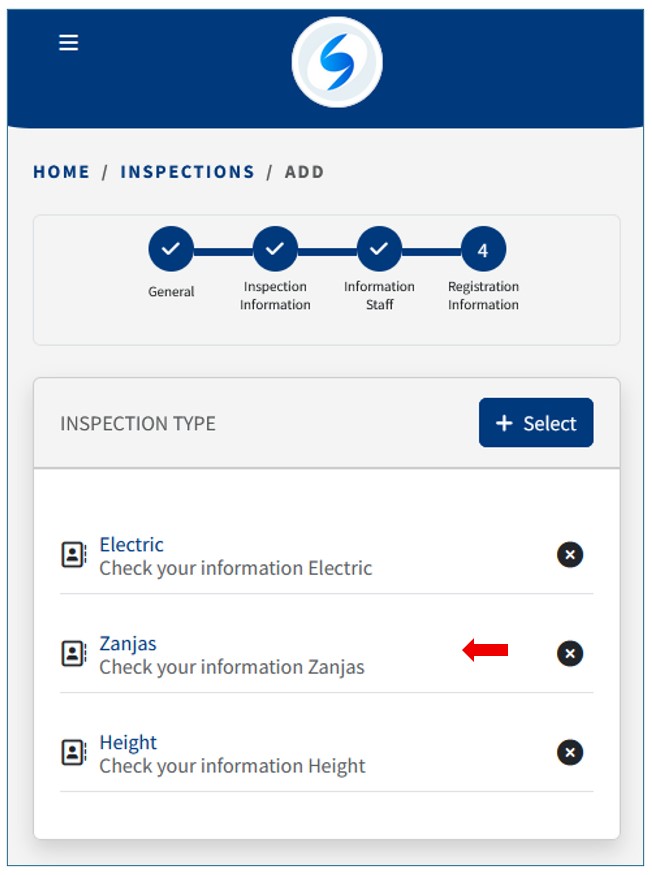
More than one Type of Inspection can be selected:
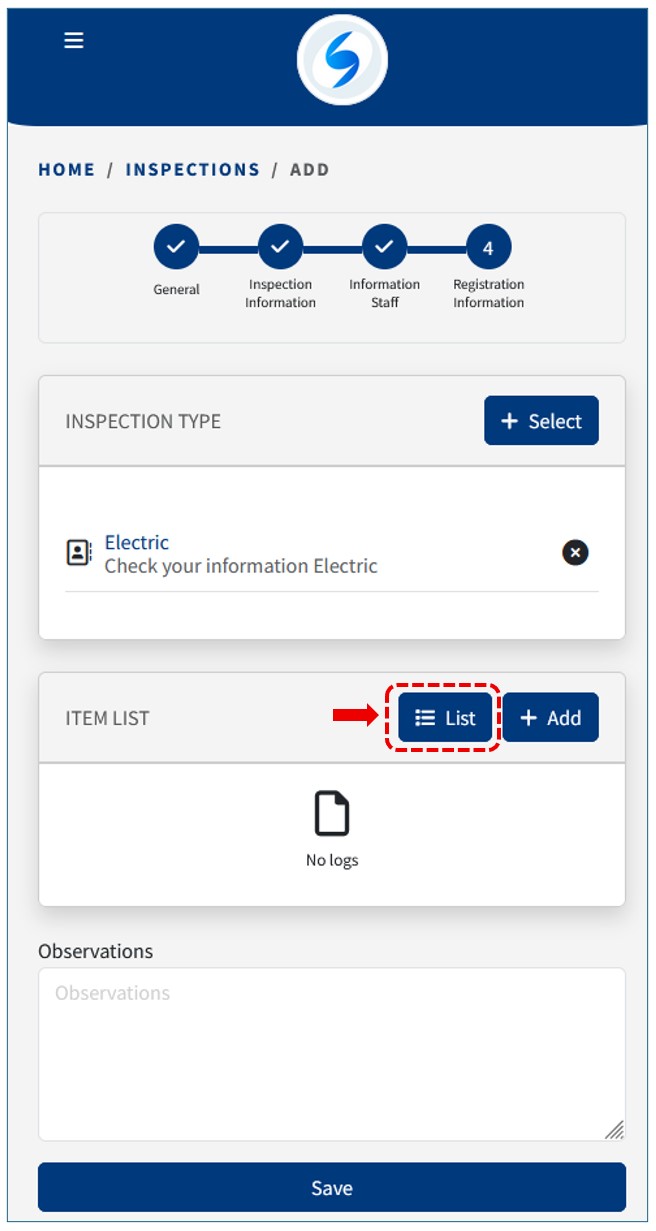
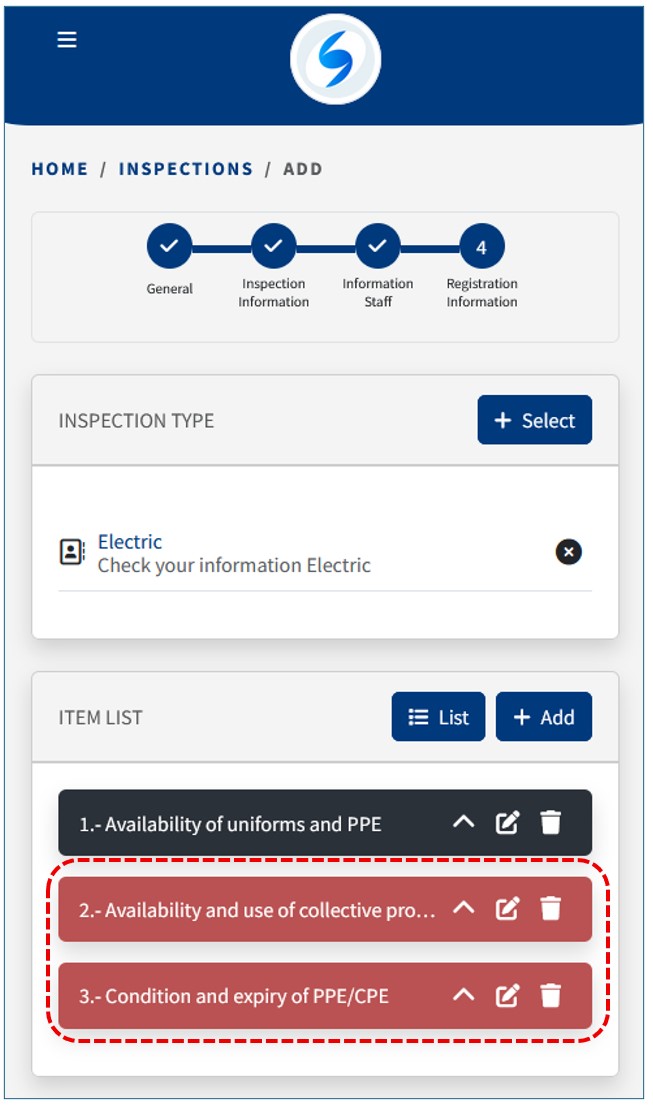
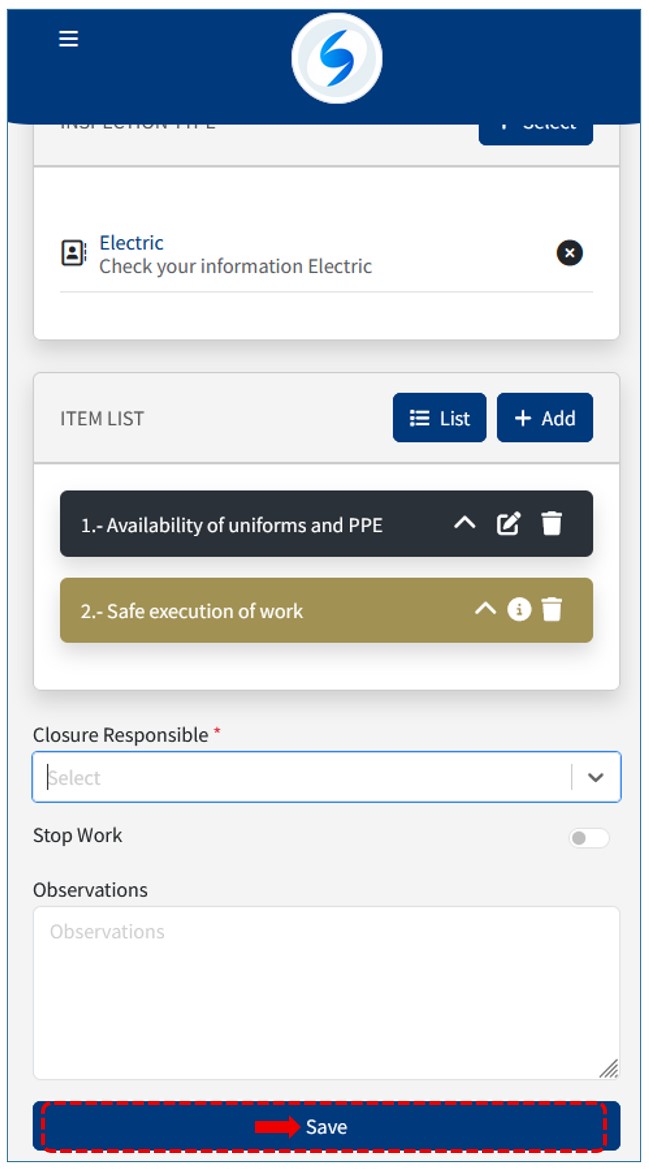
If one or more Types of Inspection are selected, proceed to select the reviewed Items. Select the list option to add the types of Items:
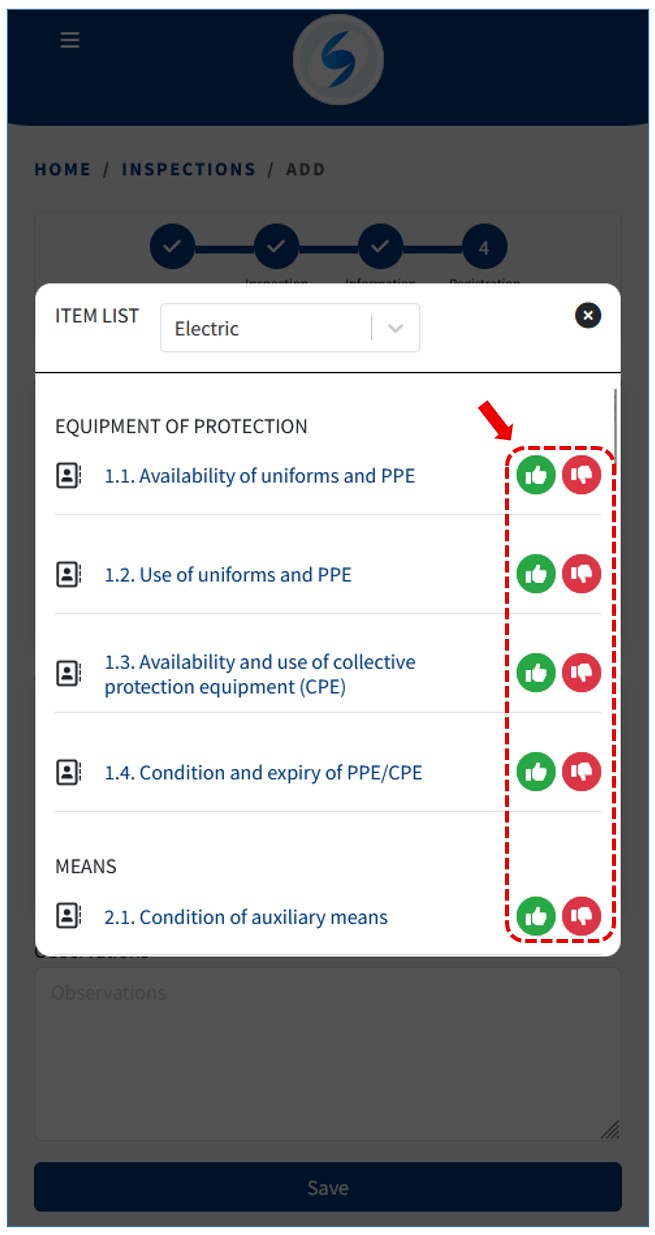
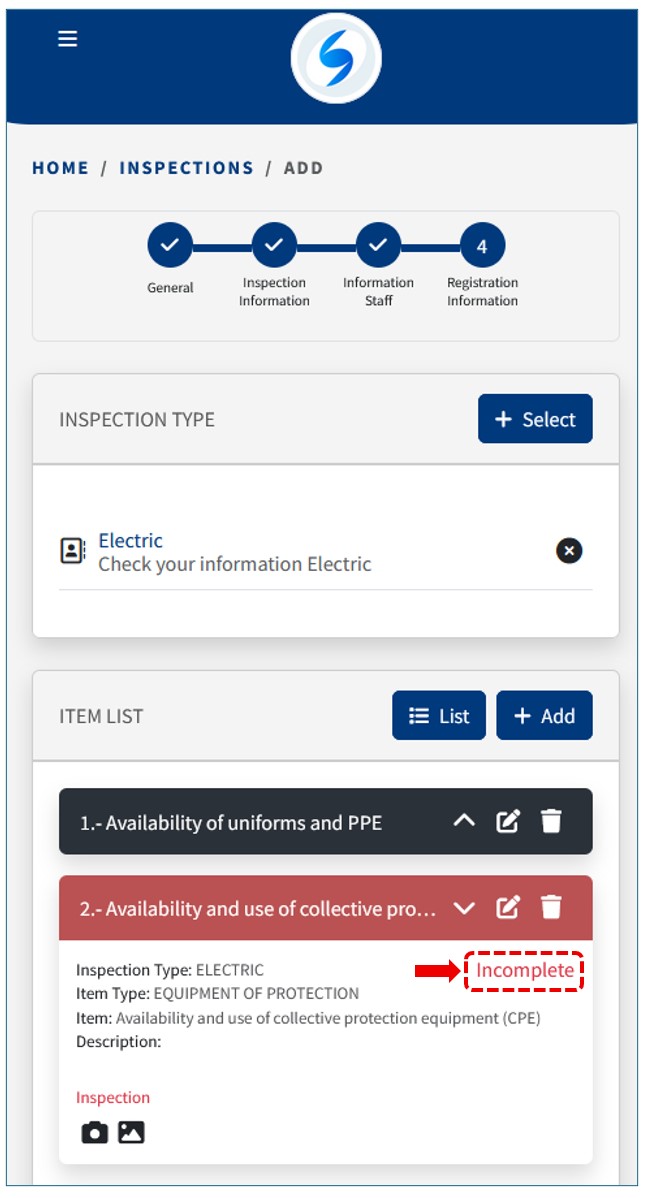
Items shown in red indicate an incomplete list, which can later be completed. Once registered, they will appear in black:
You can also add items one by one using the Add option:
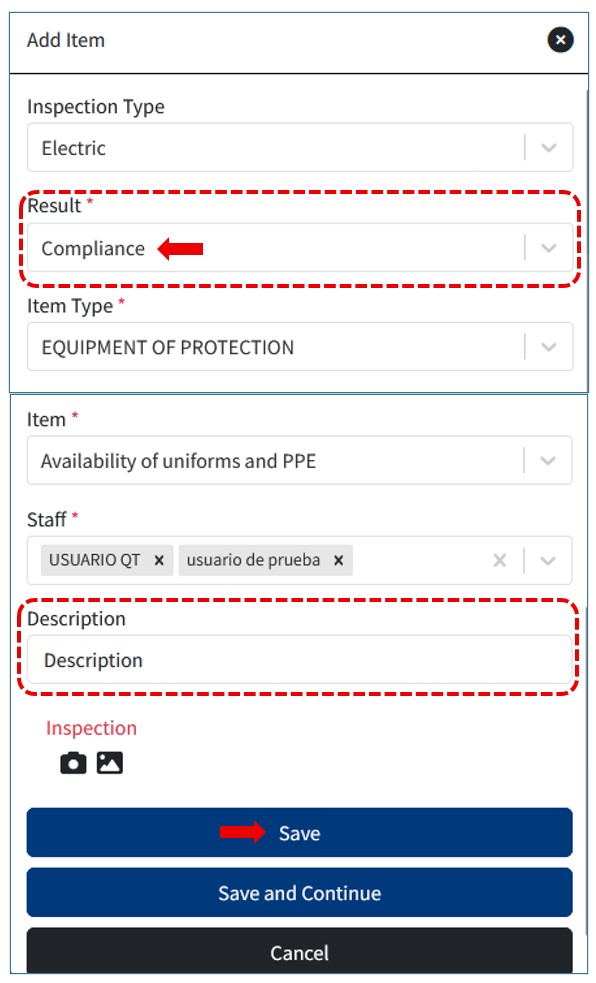
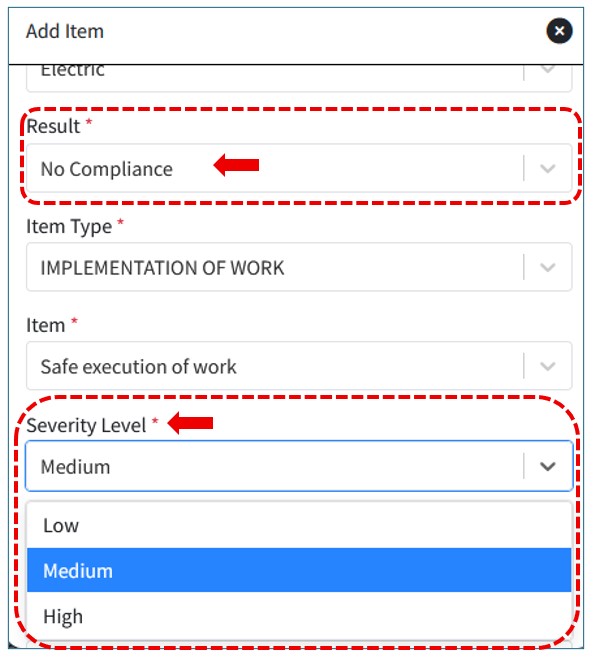
Keep in mind that when registering an item, the result can be Correct or Nonconformity.
If the result is Correct , it is necessary to enter a description:
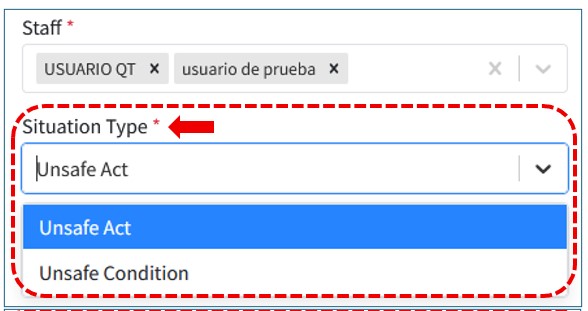
If the result is Nonconformity, you must indicate whether the Type of Situation is an Unsafe Act or an Unsafe Condition, also whether it is Serious or not, as well as a Proposed Action and whether Immediate Correction is required:
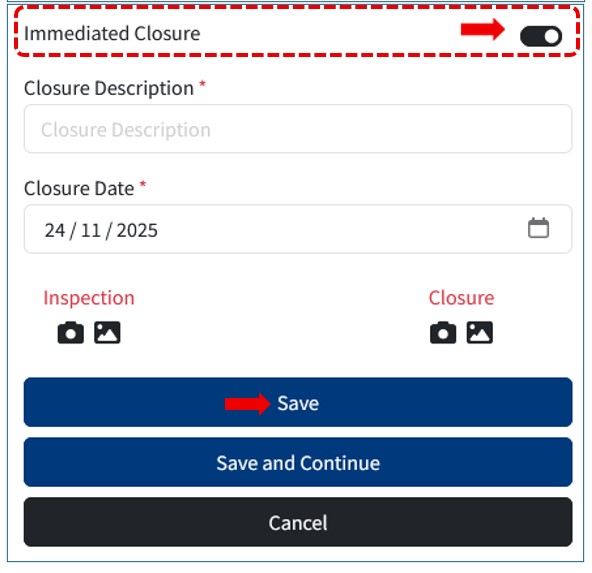
Once all the items have been registered, proceed to save the Inspection:
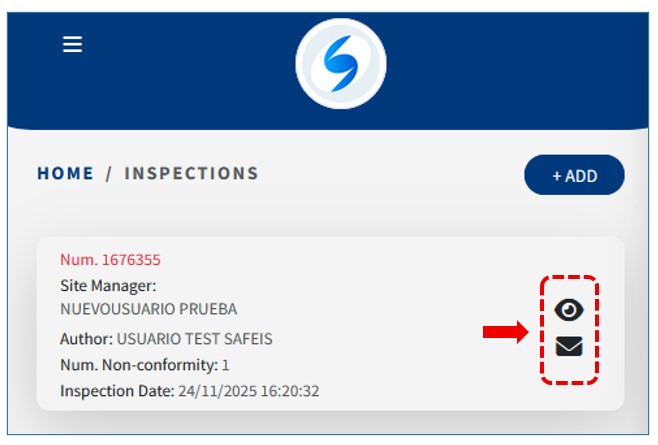
The information will be recorded, and you can view the details or send them by email: