


Inspections Module
Upon entering, the home page will be displayed with the filter open to search for active inspection records in the system.
Upon entering, the home page will be displayed with the filter open to search for active inspection records in the system.
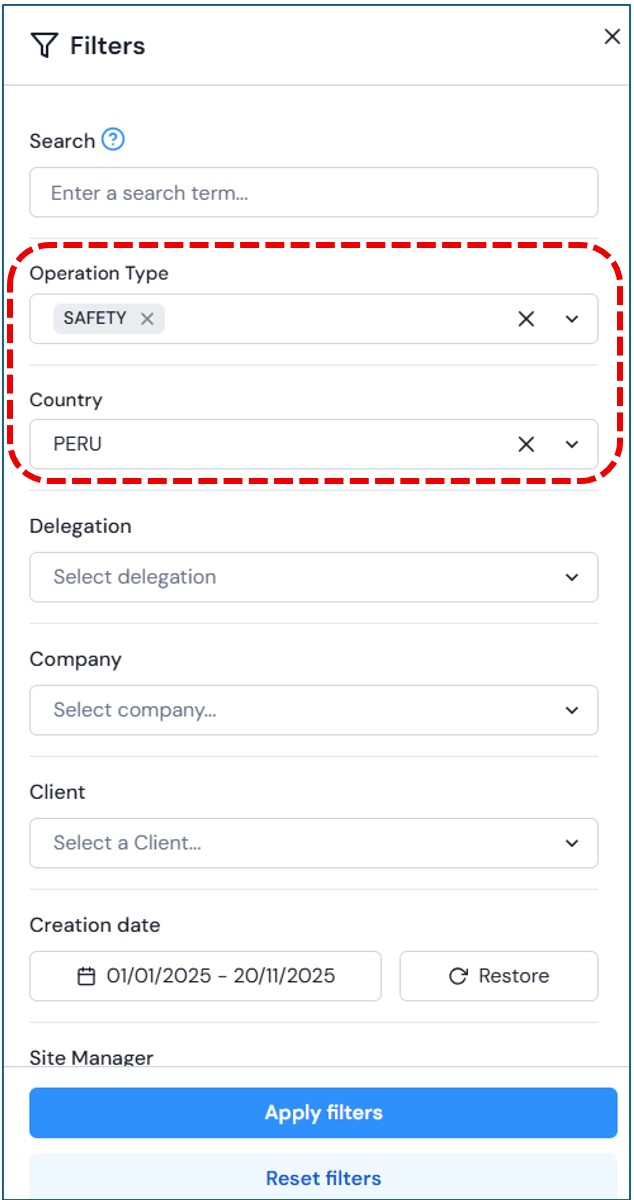
I. FILTER INSPECTIONS
The user can perform detailed searches using the filter fields. Complete the necessary fields to obtain accurate results and click Apply Filters,as shown in the video below.
If you want to search for a specific result, the user can use the Search option within the fields. Click on the field, type at least 3 letters, and then select the desired option.
II. CREATE NEW OPS
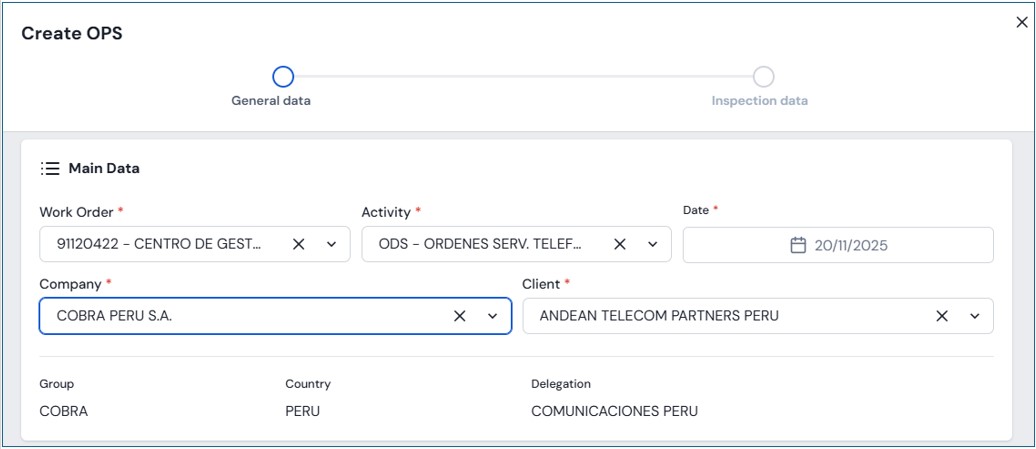
On the main page of the module, click the “Create OPS” button to start a new record. You must complete the required fields to begin the process.
General Data Module
Main Data
-
- OT
-
- Activity
-
- Date
-
- Company
-
- Client
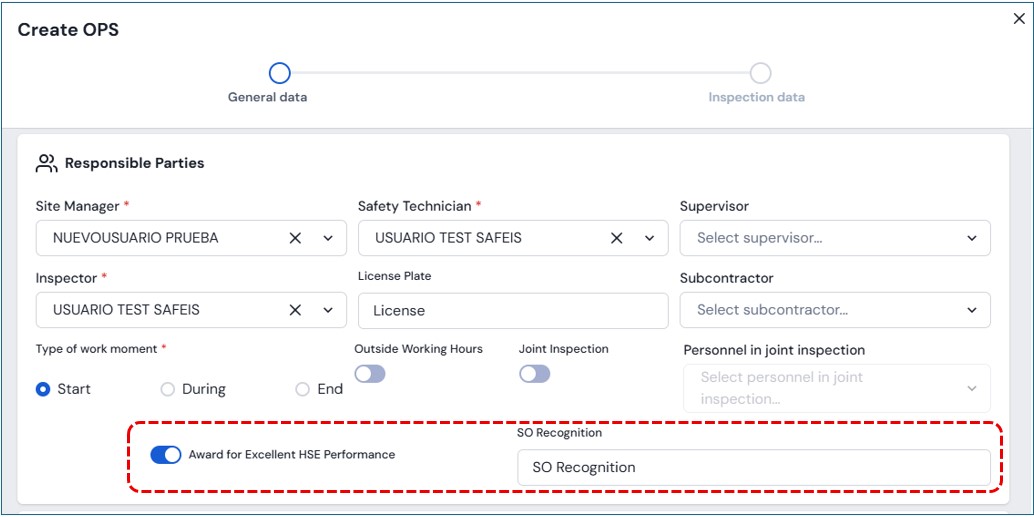
Responsibles
-
- Site Manager
-
- Safety Technician
-
- Person in Charge
-
- Inspector (by default, the name of the user creating the record appears, but it is editable)
-
- Subcontractor License Plate / Registration
-
- Work Moment Type
-
- Joint Personnel
-
- Recognition for Good HSE Performance
-
- OPS Observations
In this section, you will find the option to enter Recognition for Good Performance:
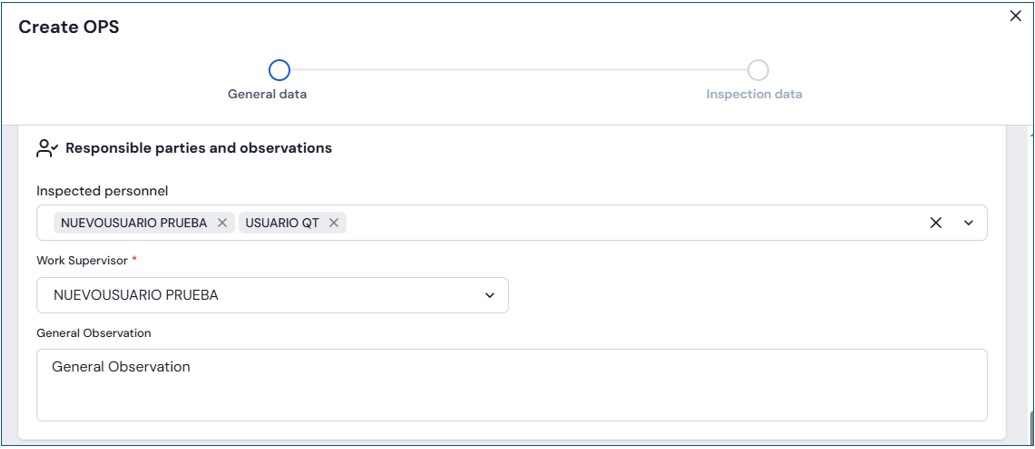
Responsibles and Observations
-
- Inspected Personnel
-
- Work Supervisor (appears by default but is editable)
-
- General Observations
Execution Details
-
- Project
-
- Location
-
- Work to be Performed

Inspections Module
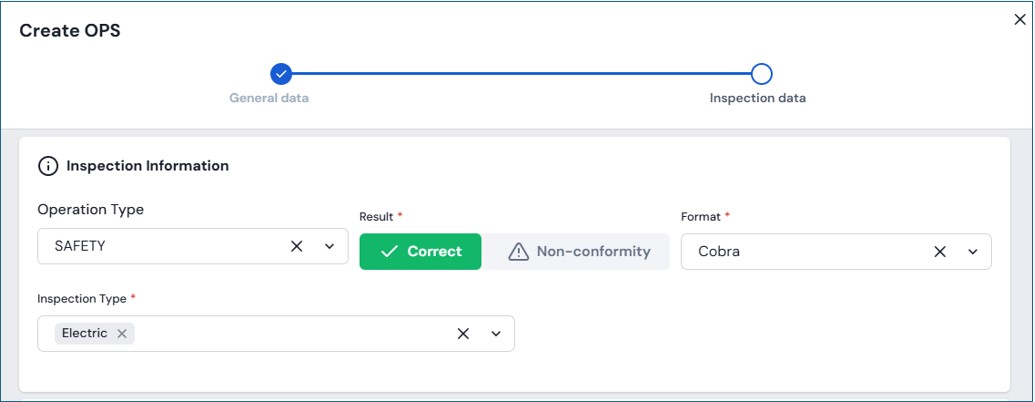
Inspection Information
-
- Operation Type
-
- Result Check
-
- Format
-
- Type of Inspection.
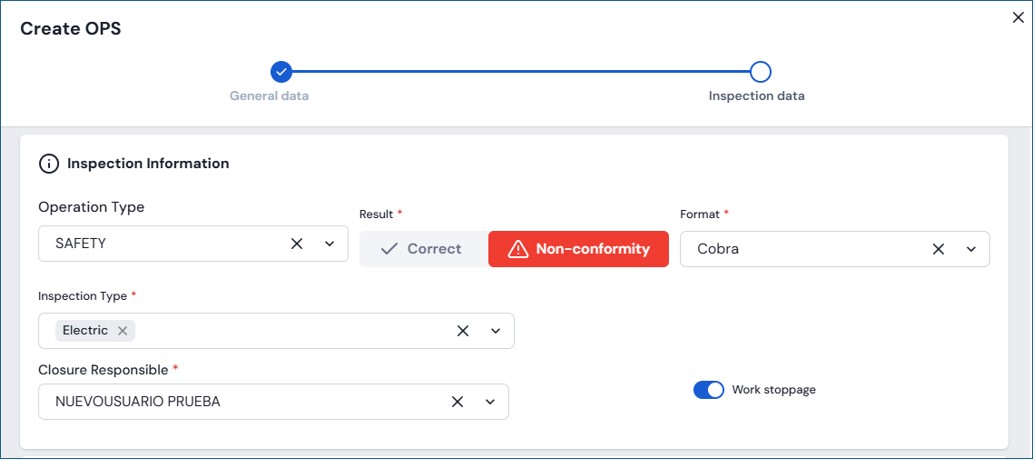
In this section, you must register whether the inspection was Correct: Correcta:
Nonconformity When selecting this option, the system will request the Responsible for Correction and will also ask whether there was a Work Stoppage.
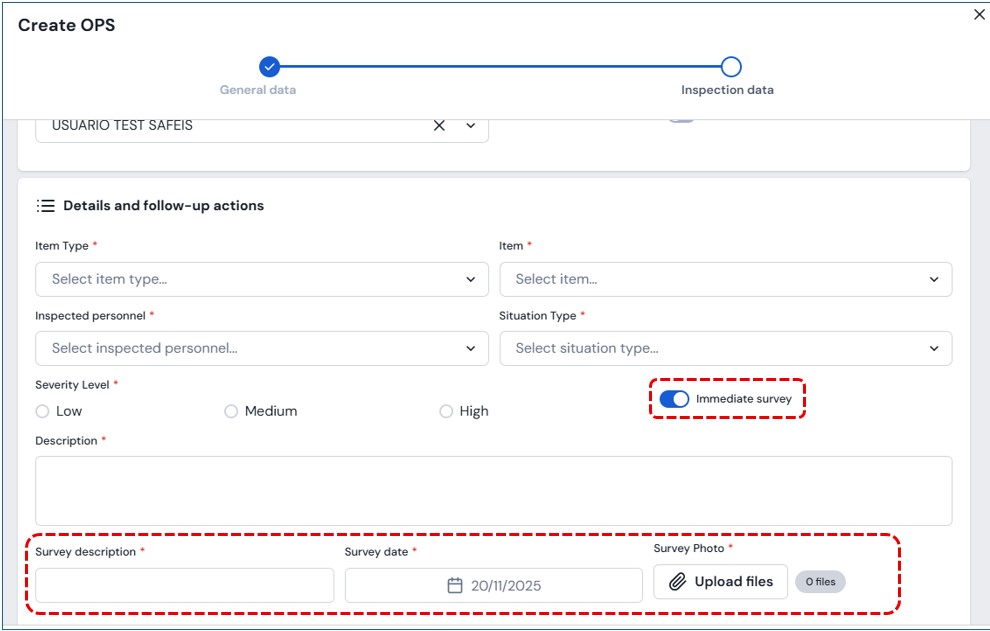
Details and Follow-Up Actions:
-
- Item Type
-
- Item
-
- Inspected Personnel
-
- Situation Type
-
- Severity Level
-
- Description
-
- Upload Files
If immediate correction was performed, the system will also require a Description and Date.
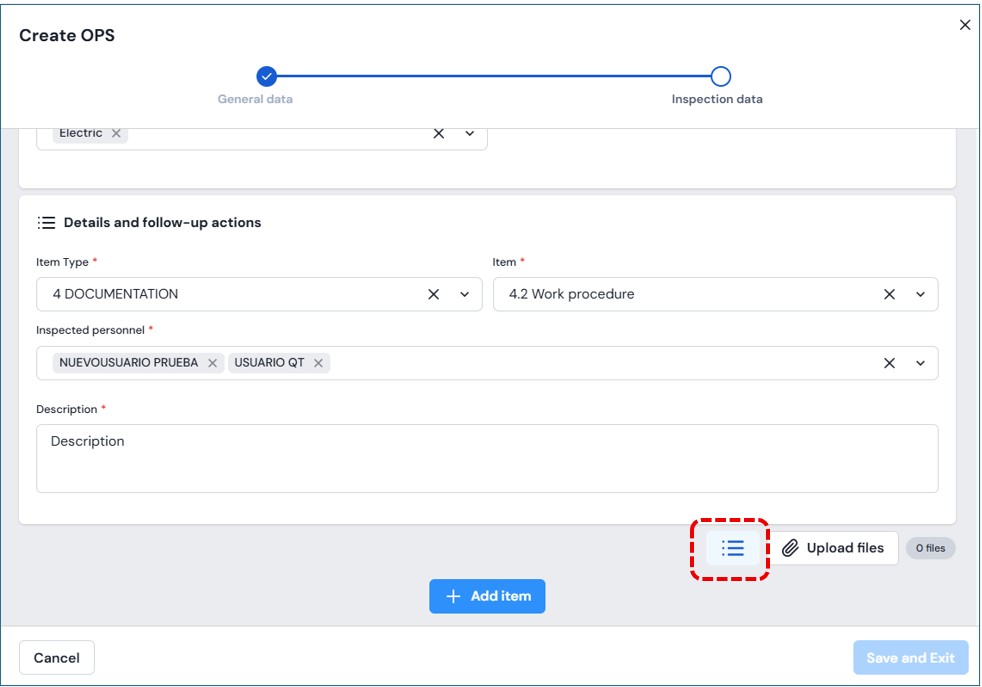
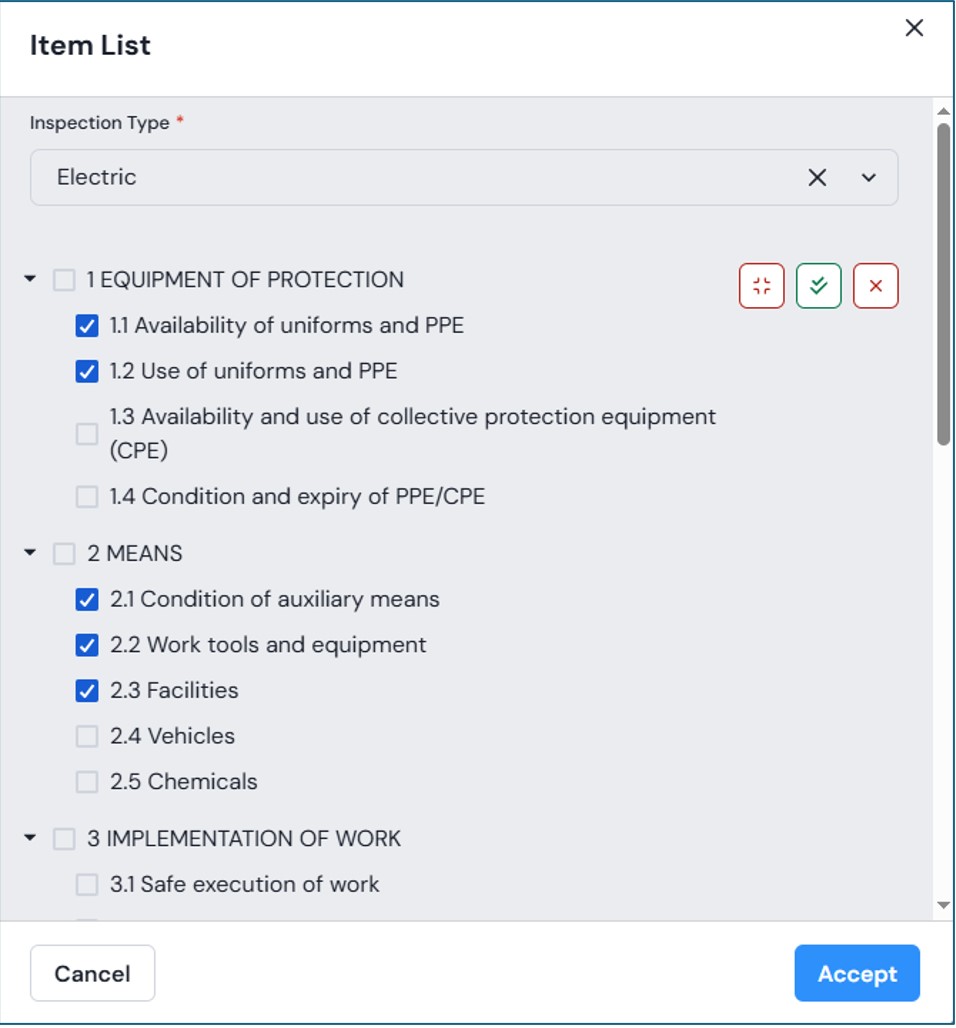
If the inspection is correct and you want to load items from a predefined list, click on the three-line icon shown.
Once all fields are completed, click “Save”. The record will be completed and available for viewing.
III. CREATE INSPECTION
When creating an inspection, the inspector’s name is automatically populated with the username of the person creating the record, and the date defaults to the current day. Both fields are editable.
Creating a New Inspection – Instructional Video
When creating inspections, you must complete two sections: General Data
and the second part is Inspection Data
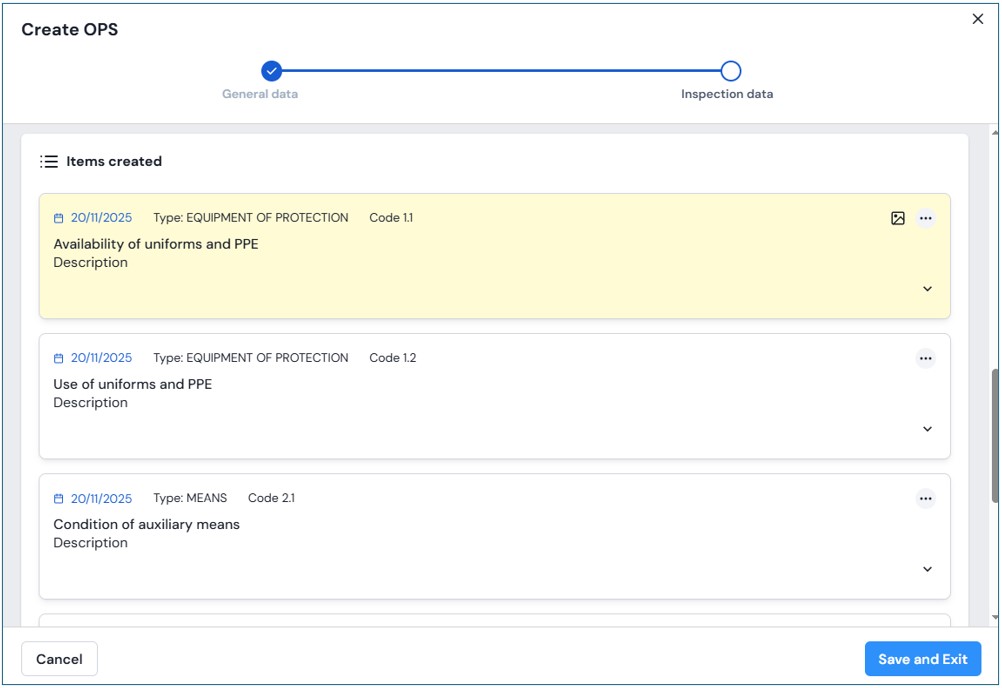
Creating a New Inspection With One or More Items
Each item may appear in a different color depending on its status:
Yellow: Corrected
White: Resolved
Red: Pending Correction
Instructional video: Creating a new inspection with one or more inspection items.
The video shows how to add one or multiple items in the Inspection Data section.
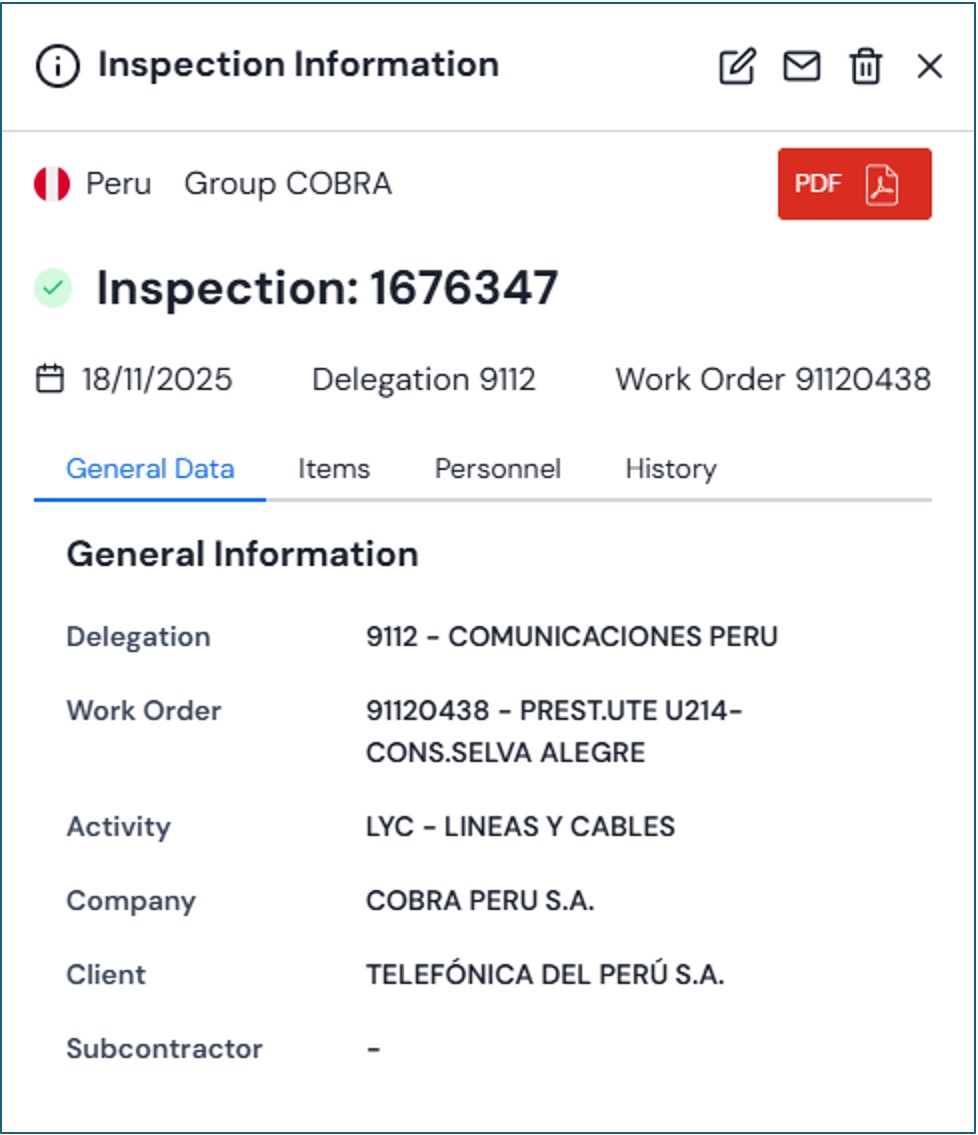
Once the inspection is registered, you can review the items and their details:
IV. EDIT INSPECTION
To edit, click the Filters button and enter the search criteria. Then press Apply Filters to display the records that match the conditions. You can also directly access an incident by clicking on it in the visible list.

Within the tableclick the record you want to edit. A panel will open on the left side with inspection information that can be modified.
At the top right, you will also find two additional options: Edit Inspection and Delete Inspection
Instructional video: Edit Inspection.
V. DELETE INSPECTION
If the user has the required permissions, they can delete a record by clicking the Delete button.A confirmation message will appear. To continue, click “Yes, delete”,or select “Cancel” to stop the action.
Instructional video: Delete Inspection.

VI. IMPORT INSPECTIONS
To import inspections, first click the Import button.

A menu will appear where you must select the type of requirement you need to import.

After marking the three options, the system will download the corresponding template.
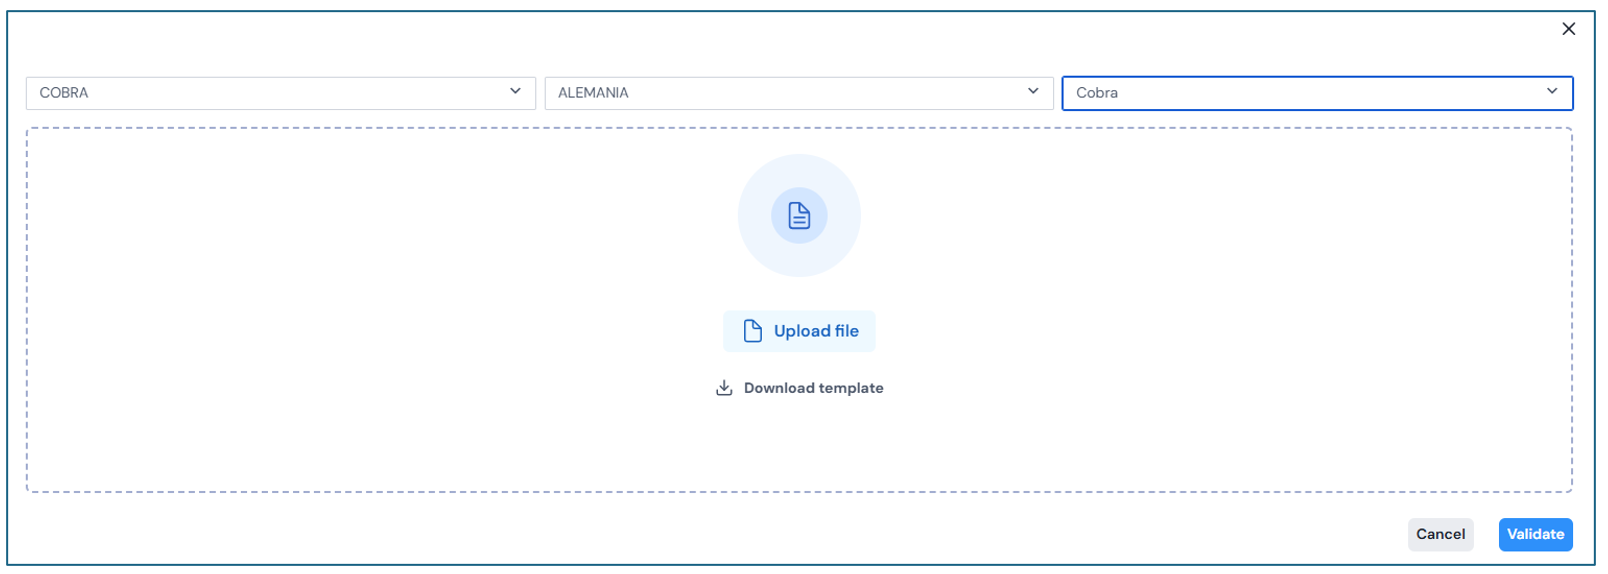
Enter the data into the downloaded template, then upload the file to proceed with validation.
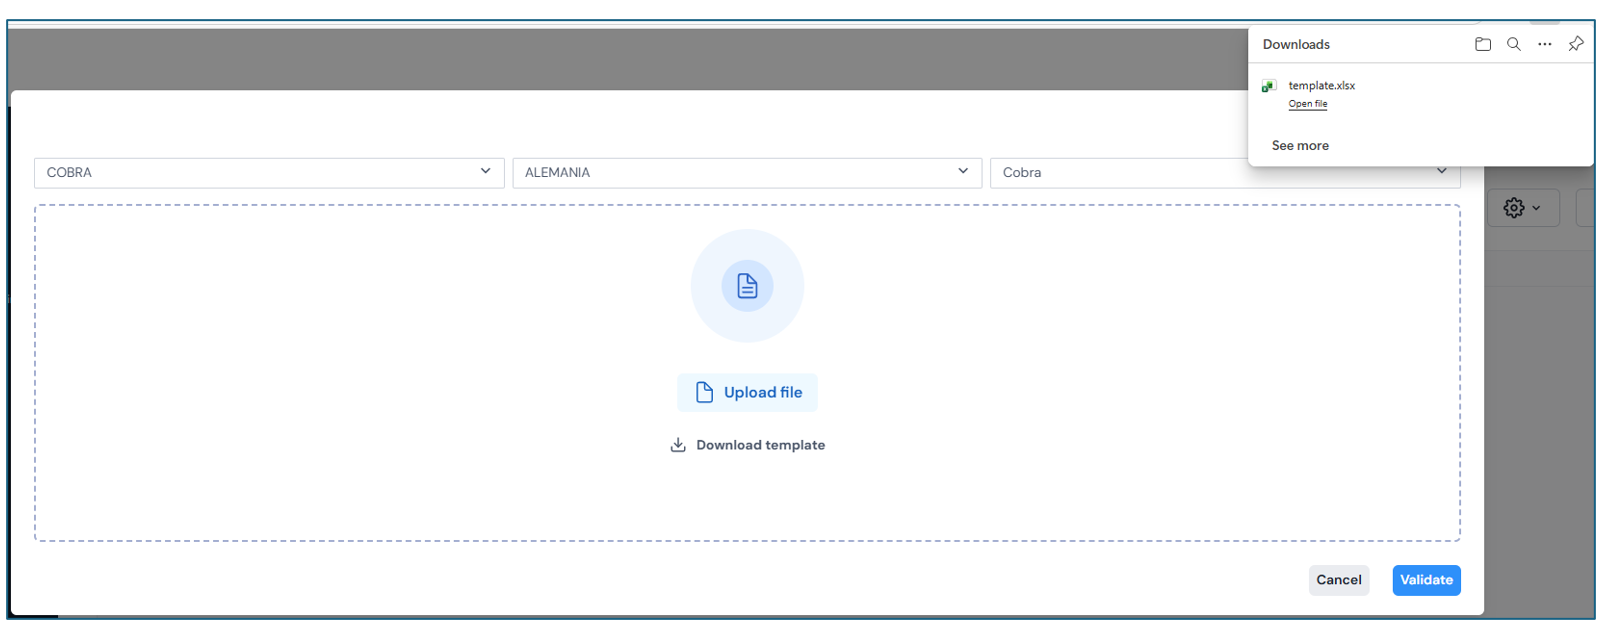
The uploaded records will be validated automatically. If any record is incorrect, the system will detect it and only the correct records will be uploaded.