


RDI Module
Upon entering this module, the home page will be displayed with the filter initially open for searching active incident records in the system.
I. FILTER RDI
The user may perform detailed searches using the fields provided in the filter. Complete the fields you consider necessary to obtain accurate results and apply the filters. By default, the filter displays the user profile data.
Additionally, if you want to search for a specific result, the user may use the sensitive field search. Click on the field and type at least 3 letters, then select the desired option.
II. Configuration – Risk Factor
Once the Risk Factor has been created, it will appear and can be used in the form for creating a new RDI.

III. Create New RDI
On the main page of the module, you will find the “New Incident” button Click this button to create a new record.
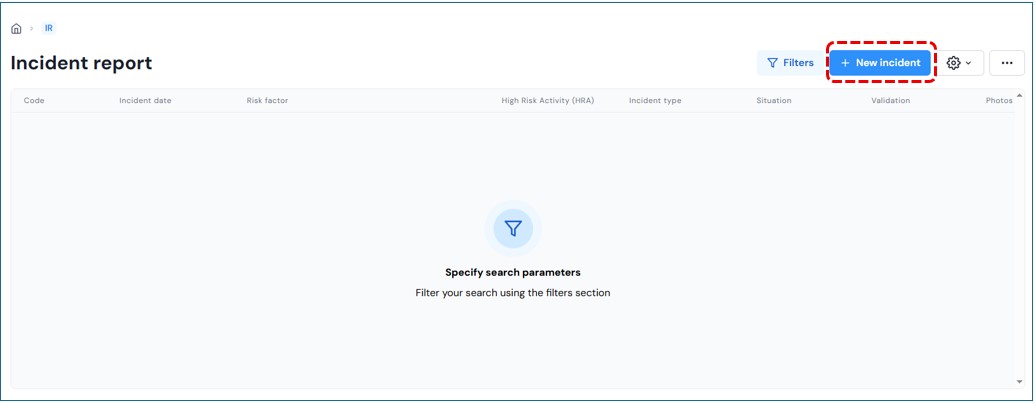
A window will open to begin the process. Complete the following fields:
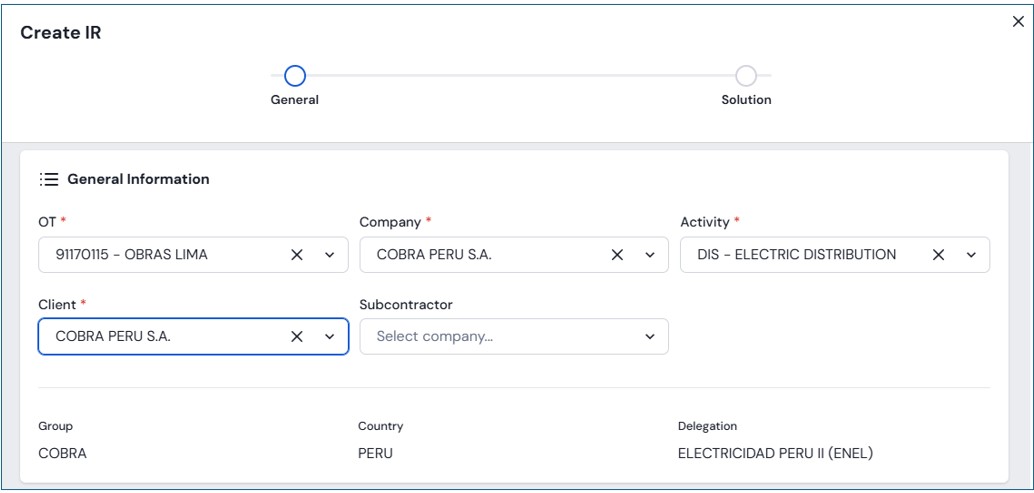
General Information Module
- OT
- Company
- Activity
- Client
- Subcontractor
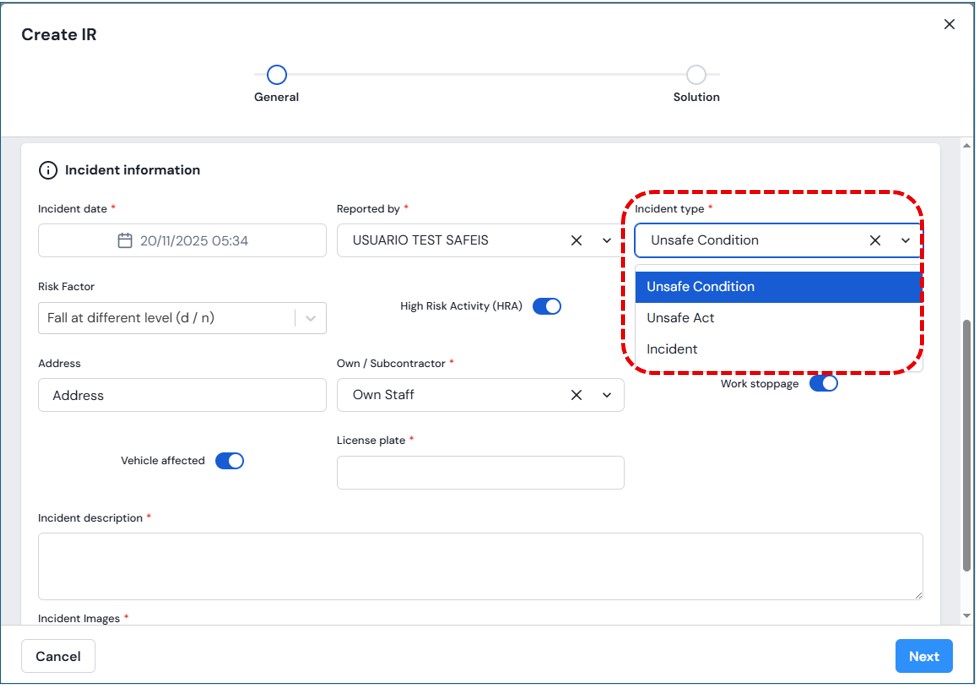
Incident Information Module
- Incident date
- Reported by (the user’s name appears by default and is editable)
- Type of incident: Unsafe Condition, Unsafe Act, Incident
- Risk Factor
- Project
- Address
- Own / Subcontractor
- Work stoppage (check)
- Affected vehicle (upon checking, you must enter the vehicle plate)
- Incident description
- Upload images
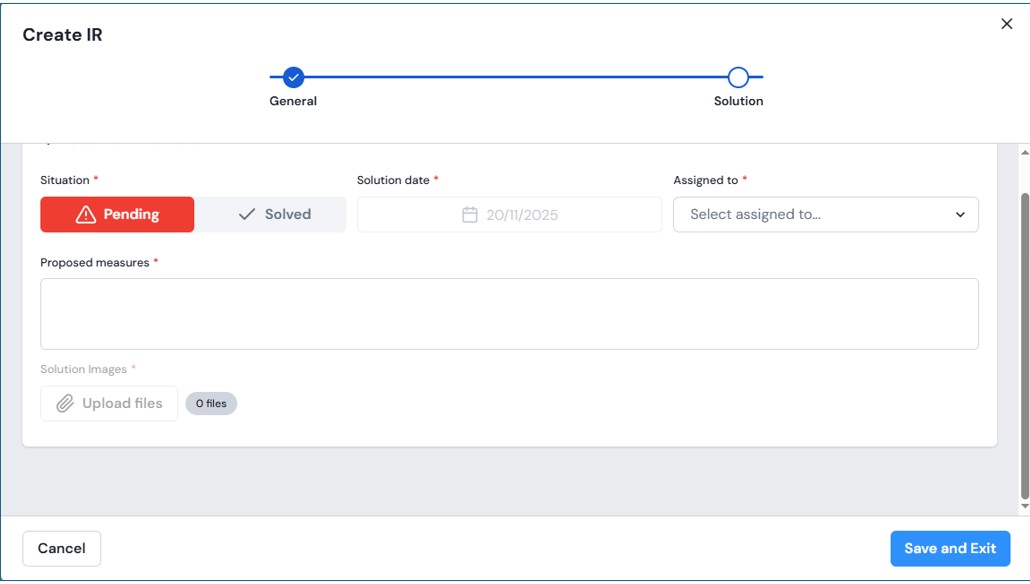
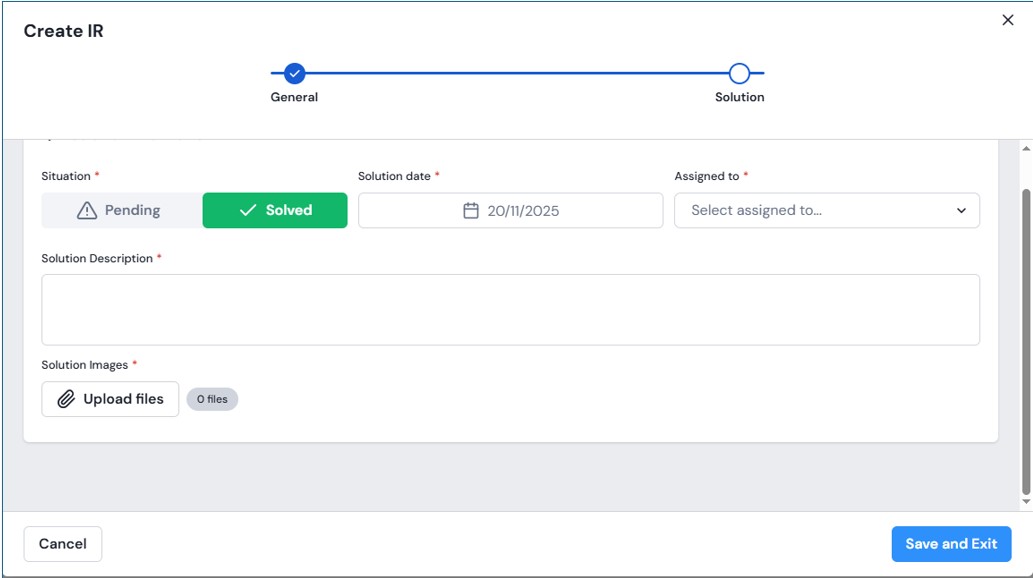
Solution Information Module
- Pending or solved status (check)
- Solution date
- Assigned to
- Proposed measures
Once all fields have been completed, click the “Save” button. The record will be completed and can be viewed in the grid.
If the user does not want to continue with the entry, they may press the “Cancel” button located at the bottom left of the modal or click the close icon (x).

Creating a new RDI – explanatory video:
Creating a new RDI with the active check function in the fields (Work stoppage and Affected vehicle) – explanatory video:
IV. Edit RDI Record
Click the “Filters” button to start a search. Once the search criteria have been entered, click the “Apply Filters” button to obtain the data grid with the records that meet the entered conditions.
Inside the grid, clicking on the record you wish to edit will allow you to modify an existing record. Click on the record you want to modify, and a left-side modal will open with the already created RDI information.
Additionally, in the upper right corner you will find two extra options: Edit RDI and Delete RDI.
PDF Export Functionality – explanatory video:
Send by Email Functionality – explanatory video:
V. Delete RDI Record
If the user wants to delete a record and has the corresponding permissions, click the delete button and a confirmation message will appear.
To proceed with the deletion, click the “Yes, delete” button. Otherwise, click the “Cancel” button.